The following warnings occurred:
Warning [2] Undefined variable $search_thread - Line: 60 - File: showthread.php(1617) : eval()'d code PHP 8.1.28 (Linux)
File Line Function
/inc/class_error.php 153 errorHandler->error
/showthread.php(1617) : eval()'d code 60 errorHandler->error_callback
/showthread.php 1617 eval


Thread Rating:
  • 0 Vote(s) - 0 Average
  • 1
  • 2
  • 3
  • 4
  • 5
Building a reproduction Ulster in New Zealand
#1
(Just reviving my old thread from the old forum and updating slightly) 

The following is a post of my progress on recreating a 1929/30 Austin seven ulster (super sports) In New Zealand.  It is far from complete but I will try to update the posts as I progress.

I purchased the miscellaneous car parts while I was a student working in Christchurch. With no home or garage I stashed it all in a storage unit where it sat for a year. Fast forward two years and it is now being compiled into a reproduction ulster. That is the goal, but time, money and skills will ultimately govern the result.
 
As someone with no experience with Austin’s, this has been extremely challenging but equally rewarding.
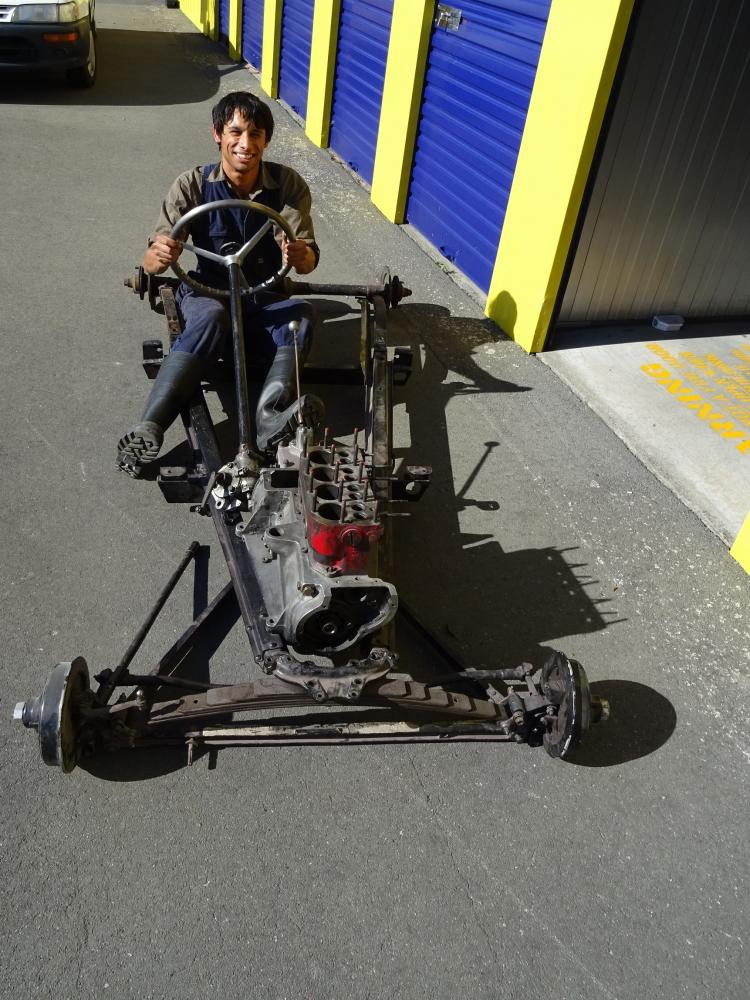
      
An assortment of parts and the beginning of one hell of a journey.
The following pictures show the floor pan in construction.

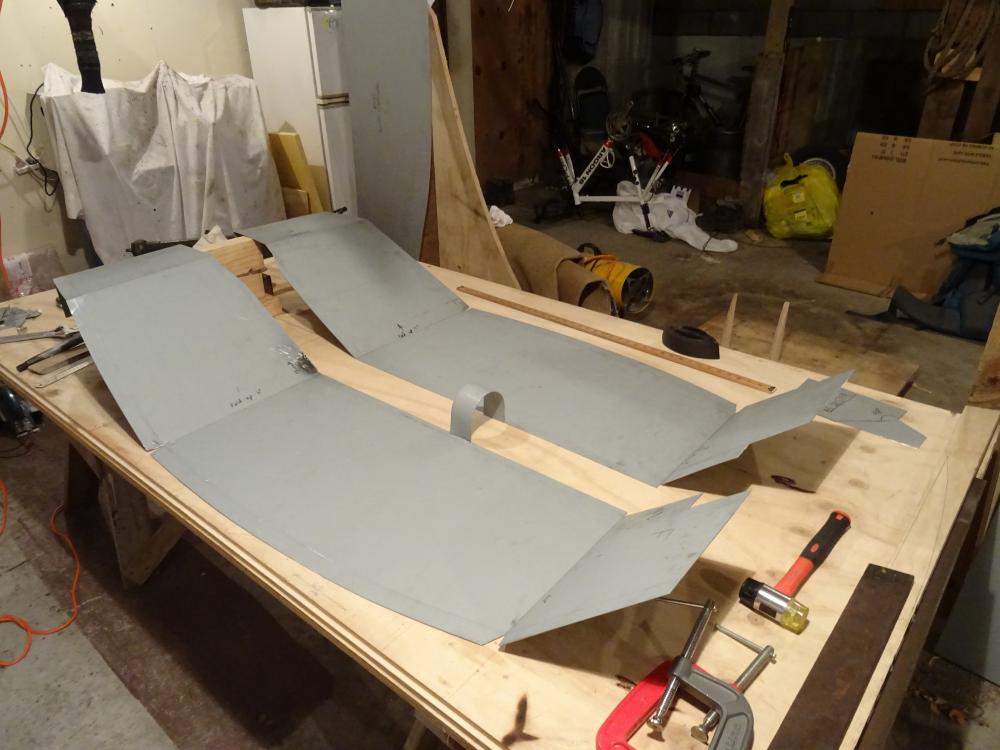
   
   
Floor pan halves being folded up.

   
Bit of a test fit....


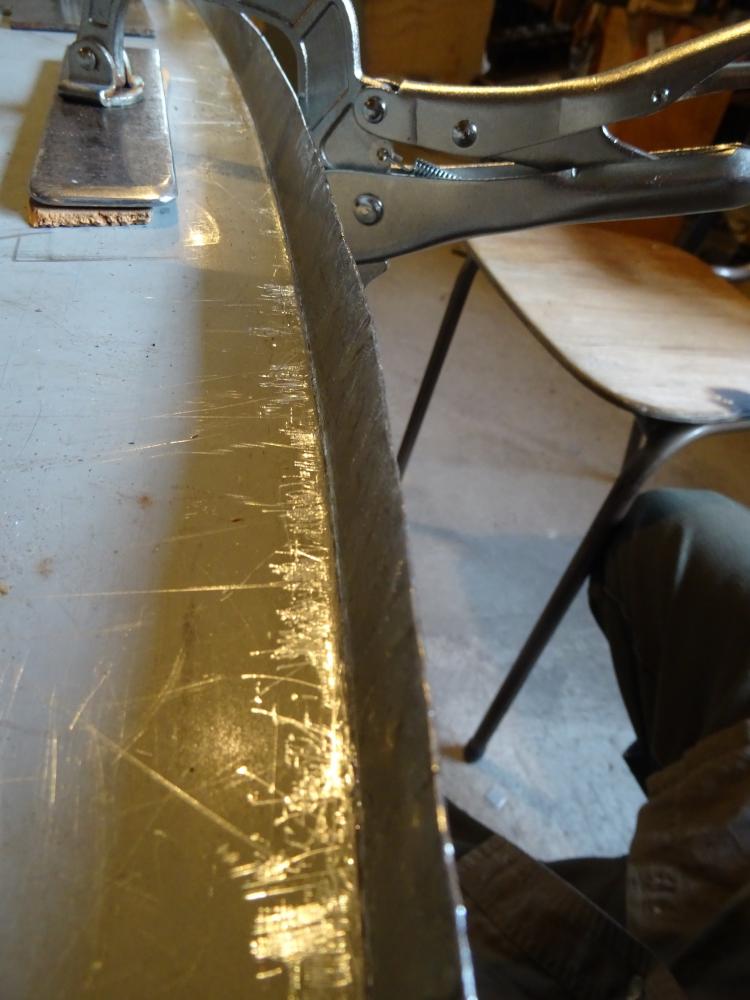
Floor pan edge being lifted showing tuck. Tucks are put in to help shrink the metal as it is lifted bit by bit until it is fully lifted up. The tucks are cold shrunk. It all looks a bit messy, but with some good dressing and planishing, it'll finish up well.

   
Just a few of the tools I have made/purchased. I don't have access to machinery, so I rely heavily on hand tools and the slower techniques... but as they say, there's no substitute to time and patience.

To be continued soon....(It seems I have reached the limit of photos for now).
Reply
#2
Welcome along to the new forum. Glad to see you'll be continuing your thread on here.

For the photos, current limit is 8 photos per post/reply, so you should be able to add another reply with another 8 and so on.
I'll look into the possibility of upping this, and uploading multiple photos in one go, and discuss with management.
Reply
#3
I am very glad to see your post continued on here as well - I look forward to more photos very soon.
Reply
#4
Continuing on from the last post, the two halves of the floor pan were completed and work started on the prop tunnel and front fire wall.


The next stage was practicing my swaging and getting a convincing result for the front of the fire wall and the top.
   
   
Above photo shows the top of the fire wall measured, cut out and swaging lines drawn on. This is where the petrol tank sits of course.
   
Next, the panel is clamped down and the 2mm thick steel guide is placed underneath the sheet. This follows the outside line of the swage. Its all a bit hard to see, but it makes sense in the end...
   
Once that is all done, you hammer along the inside line with an appropriate tool... in this case, a piece of flat bar with a edge put on. This drives the metal down and forms the "step" in the metal. You then follow the shape you have drawn, forming the full pressing.

   
Things are going well and dandy I thought.... but all of a sudden, my once dead flat panel is on the piss. Its all over the place and not looking to healthy. This warping factor increases with each new swage and is a result of uneven stretching. The best way I found to sober things up, was to hot shrink the problem areas. However once the rest of the panels edges were lifted general flatness returned. I should note that this took multiple goes and three failed cock ups on finished panels. You never get it right first time...

   
You can see the heat marks were I hot shrunk the metal.

With the main lot of panels that make up a Ulster floor pan more or less finished, I did a dry run for fit. The photos bellow are more less the current state. The next steps are to finish the floor pan proper and then start the wooden buck. In the mean time I have to figure out some more details and do some number crunching.


Reply
#5
Brilliant stuff, progress is looking superb.
Great to see the process going into making the panels.
Reply
#6
What Atho is too modest to tell you is that this is his first attempt at building an Austin 7, or any car for that matter, he is doing a superb job, pays great attention to detail and will have a very nice car when completed......an inspiration to all.
Black Art Enthusiast
Reply
#7
Great work Atho, I really enjoy seeing and reading about the techniques used by fellow builders, please keep posting.

Regards, Mark.
Reply
#8
Athanasius,

I’m very impressed with what you have achieved with basic tools, thank you for taking the time to document your build.

I’m a fellow Kiwi and I’m gathering info with the intention of building an Ulster.

Would you be willing to share some of the basic dimensions for the body?  I’m sure most things fall into place as you go, but it would be great to have a few dimensions to start with.

I only have photos to go with at the moment.  I have bought a mk1 Ruby so it will be a long wheel base version.

Cheers 
Ian
Reply
#9
Where in NZ are you based Ian? Although I am sure Athow would be willing to allow you to measure his car it will be of limited use for a LWB chassis. Yes I know that people have built specials with a SWB Ulster body tub on a LWB chassis, but that adds many other complication which man not be ideal especially if this is your first build. If you are in the Wellington region I could assist you and allow you to measure my LWB special. Athow is in the Thames area and is not on here that much these days, I will however alert him to this post.
Black Art Enthusiast
Reply


Forum Jump:


Users browsing this thread: 1 Guest(s)